First we are going to learn how to setup a basic scene in ThreeJS.
The first thing that we are going to do is link Three.js to our project. You can download Three.js HERE.
Then add this line on your index.html file :
<script src="./three.min.js"></script>
Congratulation, you linked the Three.JS library to your project. Now let’s see how to setup our very first Three.JS scene.
Scene requirement in ThreeJS
First of all you’ll need to create a Scene component, this component will be used to add stuff to the scene and place them in your 3D world.
const scene = new THREE.Scene();
Then you’ll need to add a camera to your scene, you will be able to move it on 3 axis (x, y, z) and changer her rotation.
const camera = new THREE.PerspectiveCamera(75, sizes.width / sizes.height);
camera.position.z = 3;
camera.position.y = 1;
scene.add(camera);
“sizes.height” & “sizes.width” is an object that i’ve created used to scale the renderer of the scene.
const sizes = {
    width: 800,
    height: 600
}
To be able to render something on your screen, you’ll need to create an html5 canvas and link it to your script.js. To do so go on your index.html and write thhis line in your body element :
<canvas class="webgl"></canvas>
Once it’s done, you can create your renderer and link your sizes object & canvas.
const canvas = document.querySelector('.webgl');
const renderer = new THREE.WebGLRenderer({
    canvas: canvas
})

renderer.setSize(sizes.width, sizes.height);
renderer.render(scene, camera);
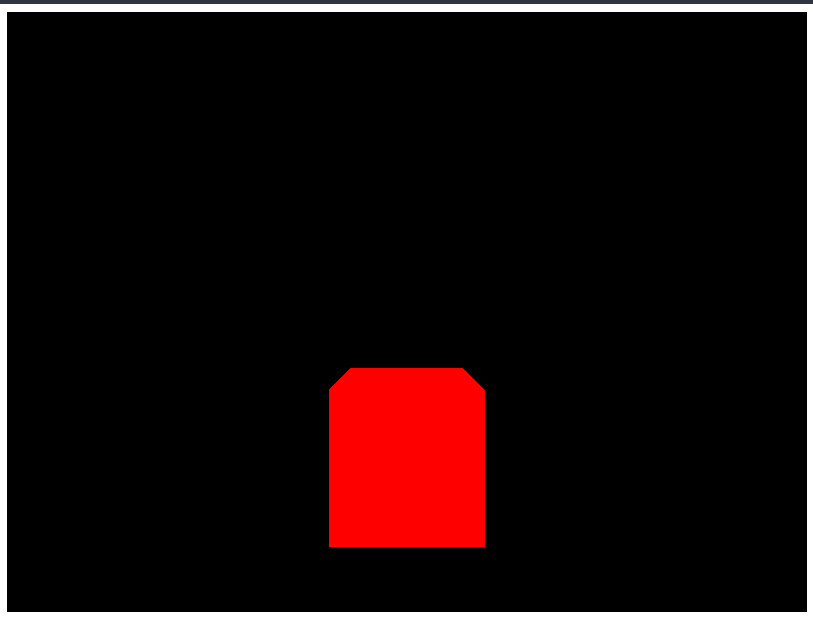
To check if everything is working, you’ll need to create your first 3D object, let’s start by creating a simple red cube.
To create a 3D object you’ll need three elements : a geometry, a material & a mesh.
const geometry = new THREE.BoxGeometry(1, 1 ,1);
const material = new THREE.MeshBasicMaterial({ color: 'red' });
const mesh = new THREE.Mesh(geometry, material);
scene.add(mesh);
And here is your very first scene made with three.js.
Full code source :
script.js
const scene = new THREE.Scene();

// Red cube
const geometry = new THREE.BoxGeometry(1, 1 ,1);
const material = new THREE.MeshBasicMaterial({ color: 'red' });
const mesh = new THREE.Mesh(geometry, material);
scene.add(mesh);

// Sizes
const sizes = {
    width: 800,
    height: 600
}

// Camera
const camera = new THREE.PerspectiveCamera(75, sizes.width / sizes.height);
camera.position.z = 3;
camera.position.y = 1;
scene.add(camera);

// Renderer
const canvas = document.querySelector('.webgl');
const renderer = new THREE.WebGLRenderer({
    canvas: canvas
})

renderer.setSize(sizes.width, sizes.height);
renderer.render(scene, camera);
index.html
<!DOCTYPE html>
<html lang="en">
<head>
    <meta charset="UTF-8">
    <meta name="viewport" content="width=device-width, initial-scale=1.0">
    <title> First Scene </title>
</head>
<body>
    <canvas class="webgl"></canvas>
    <script src="./three.min.js"></script>
    <script src="./script.js"></script>
</body>
</html>
Source : https://threejs-journey.xyz/ - An amazing ThreeJS course, made by Bruno Simon.